PC coming with pre-installed operating system does not contain any partition. There will be only Local Disk C present in their computer using total hard disk space. Single partition do not effect some users, as they are habituated to use desktop and my documents for saving
all their confidential files. Suppose one day morning you open your pc and found a message showing "Error loading operating system" which means your os boot files are corrupted by some way and there is a need to format your computer. Well in that case you have no chance to take backup of your files present in local disk c and you need a strong heart to format all files with os and install a new one in that place.
|
|
|
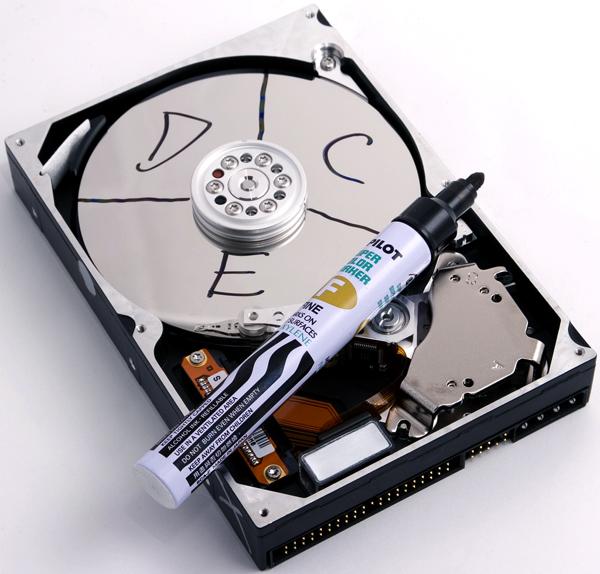
Here created partitions helps!. Even you came across a format situation only the os files will be deleted but the files present in other partitions such as Local Disk D or E will be not effected at all.
Some peoples think that partitions can only be created during operating system installation. That is false, as per our study we can also create or modify partition even after an operating system is installed on your pc. Today we are showing you how to do the same. That was all usual formality, now lets begin the actual technical stuff.
Some peoples think that partitions can only be created during operating system installation. That is false, as per our study we can also create or modify partition even after an operating system is installed on your pc. Today we are showing you how to do the same. That was all usual formality, now lets begin the actual technical stuff.
Steps To Add Or Remove Partitions From Your Windows PC
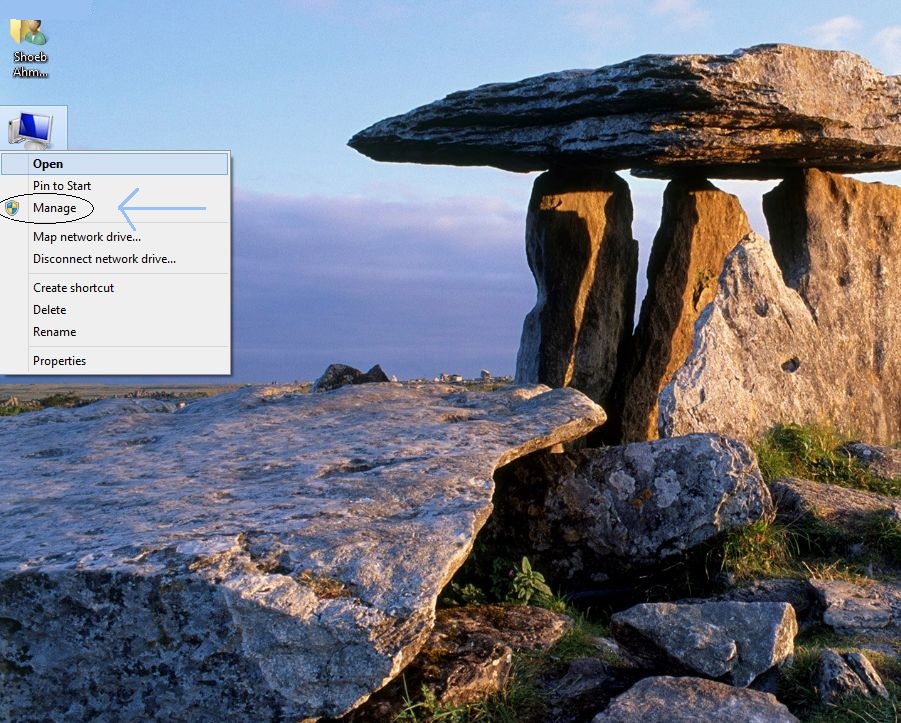
- Go to Desktop and right click on My Computer icon, then click manage button.
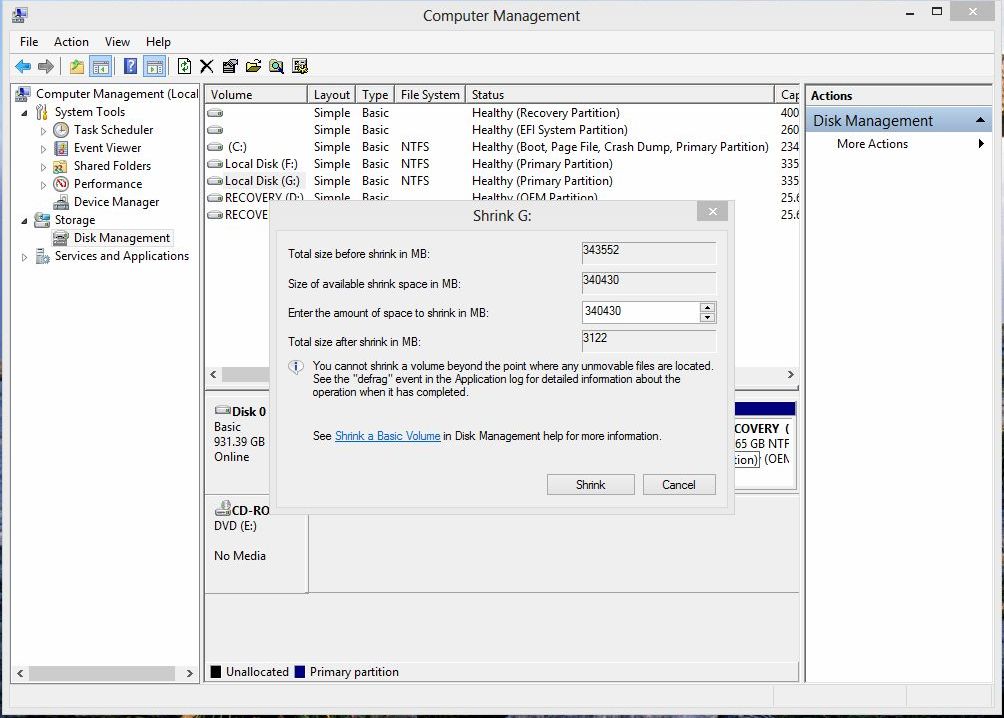
- Computer Management window will open, there go to disk management menu.
- There you will see all the created partitions with respective capacity and available free spaces.
- Partitions with blue color bar are primary partitions and partitions with black color bar are unallocated partition (i.e. Free space)

- To create partition from unallocated space is easy. Just right on it to click create partition -> Enter space in MB -> Select drive letter -> done
- To create partition by allocating space from existing partition involves 2 steps a) select a drive from where you want to shrink the space b) After shrinking create partition from that unallocated space as shown earlier.
- To shrink the space from any partition, right click on that and press shrink volume. Later add the amount to be shrink. Shrink Volume = Total space - Wanted space in any partition
For any questions and doubts, please use the comment section below to get the solution from our experts & users.
Author : Shoeb Ahmad Fareed

Designation: Founder & CEO
Bio: A Technology Leninist who believe success can be only be achieved if one has a practical implementation knowledge. He is a Computer Science Engineer, a professional blogger and a debugger.
Bio: A Technology Leninist who believe success can be only be achieved if one has a practical implementation knowledge. He is a Computer Science Engineer, a professional blogger and a debugger.