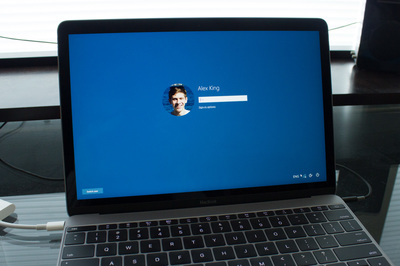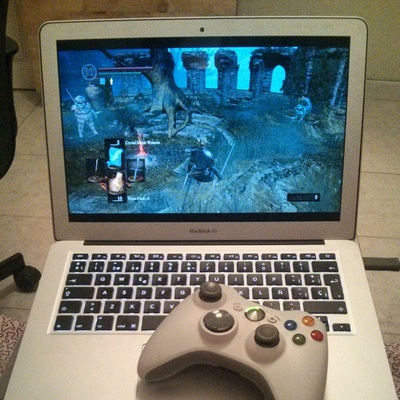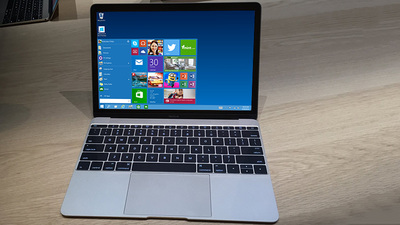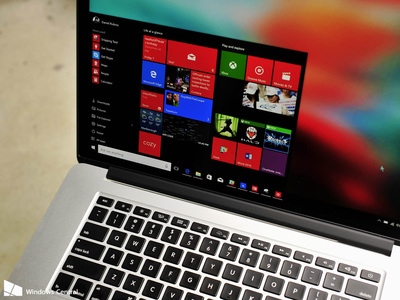
Once the Windows is installed, you will have a dual-boot option to switch between Windows & OS X anytime.
|
|
|
Guide To Install Windows 10 on Macbook Using BootCamp
- 8GB Pendrive
- Windows 10 ISO Image with genuine key
- Bootcamp software
- Intel-Based Mac
- Atleast 55GB of free space in Mac
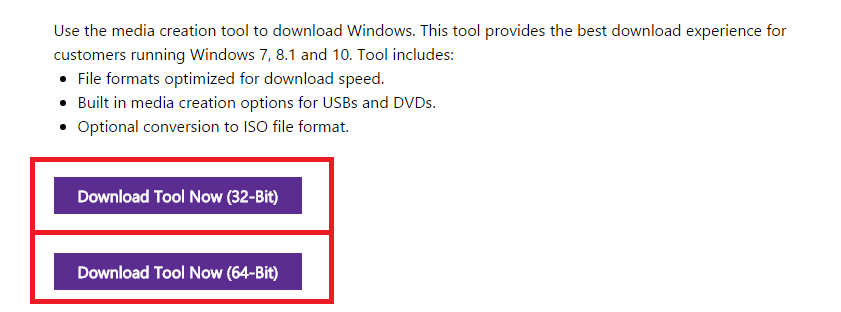
- First of all download the Windows 10 ISO from Microsoft. You can download 32 bit or 64 bit based on your system configuration.
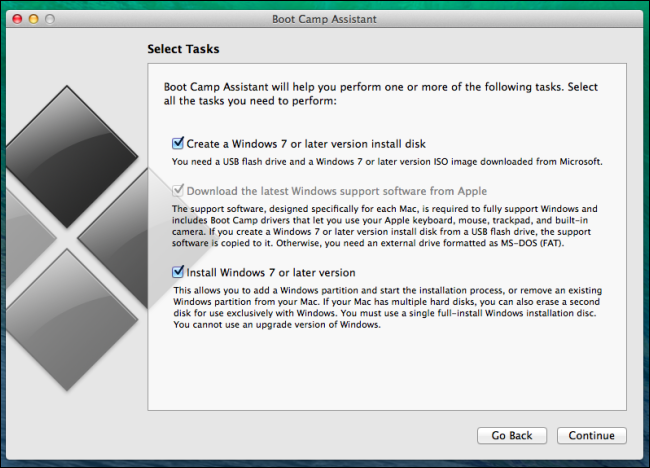
- Once you have download the iSO, go to apps and search for BootCamp Assistant to open it. Click next and continue by ticking all the tasks.
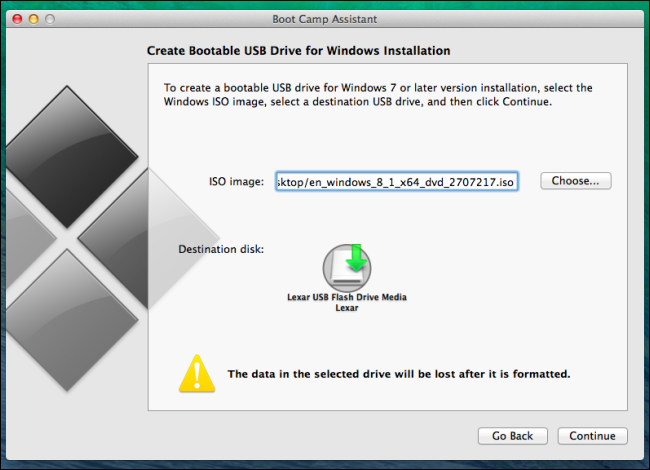
- On the next page, create bootable USB drive for Windows ISO installation. Just click choose and select the downloaded ISO image file and click continue.
- Note: Make sure you don't have any files in pendrive as they will be lost after formatting.
- After formatting, you are allowed to make the second partition to build a dual-boot system. We recommend to keep atleast 70GB for Windows to run smoothly.
- Click next to start Windows 10 installation after restart.
- Setup your Windows and bootcamp will help to install proper drivers for audio, trackpad, display compatible with your Mac machine.
- Enjoy using Windows 10 & Mac OS X together on your Macbook.
How To Switch Between Windows 10 & OS X
- Startup Manager allows you to pick a volume to start from while the computer is starting up.
- Turn on or restart your Mac.
- Immediately press and hold the Option key. After a few seconds, the Startup Manager appears. If you don't see the volume you want to use, wait a few moments for Startup Manager to finish scanning connected drives.
- Use your mouse or trackpad, or left and right arrow keys to select the volume you want to use.
- Double-click or press the Return key to start up your Mac from the volume you selected.

