Are you amazed when you read the topic saying one can install Android 5.0 Lollipop In Windows PC? If yes, then you must go through this topic as this will helps you to enjoy Android 5.0 Lollipop on your big screen of PC or Laptop. Android 5.0 Lollipop can be installed on Virtual Memory with Virtual Physical Disk and Processor. This can be done using Oracle Virtual Box.
Android 5.0 Lollipop will be install on Linux kernel with Oracle VM as application installer. You need the Oracle VM, Android 5.0 Lollipop ISO file and our premium steps and you are good to go.
Please be aware your PC or Laptop Memory, Processor and Hard Disk can be compromised with this Installation. Please follow the steps below..
Please be aware your PC or Laptop Memory, Processor and Hard Disk can be compromised with this Installation. Please follow the steps below..
|
|
|
How To Install Android 5.0 Lollipop On Windows PC
Pre-requistics
Steps to configure and installation
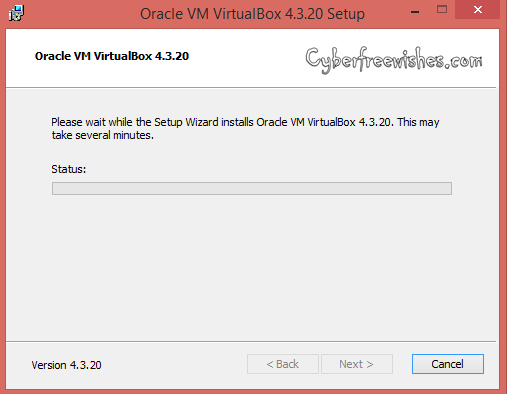
- First Install Virtual Box on your computer
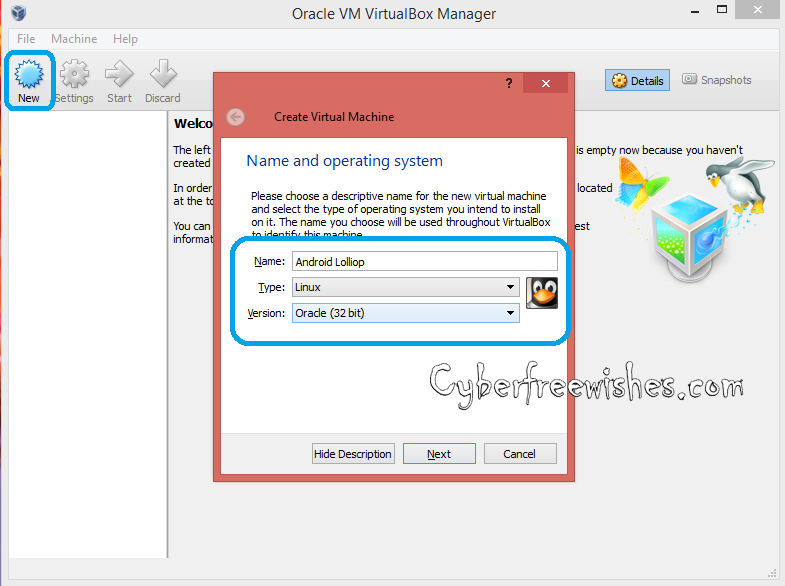
- Open Virtual Box and Click New as shown in figure below
- Enter Name = Android Lollipop, Type = Linux, Version = Oracle (32 bit)
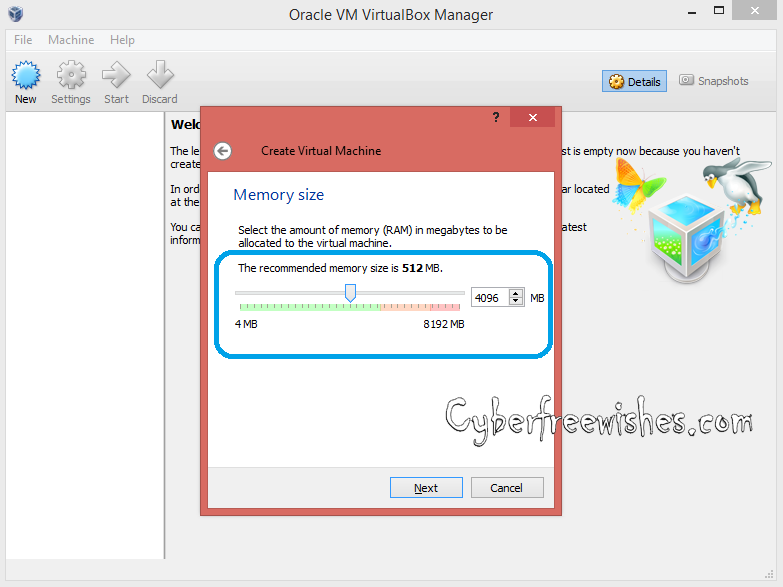
- Next select the size of RAM for the virtual machine. 1024 MB (1 GB) is a sufficient memory size for android to run on your computer.
- Now, Select and create the virtual hard drive.

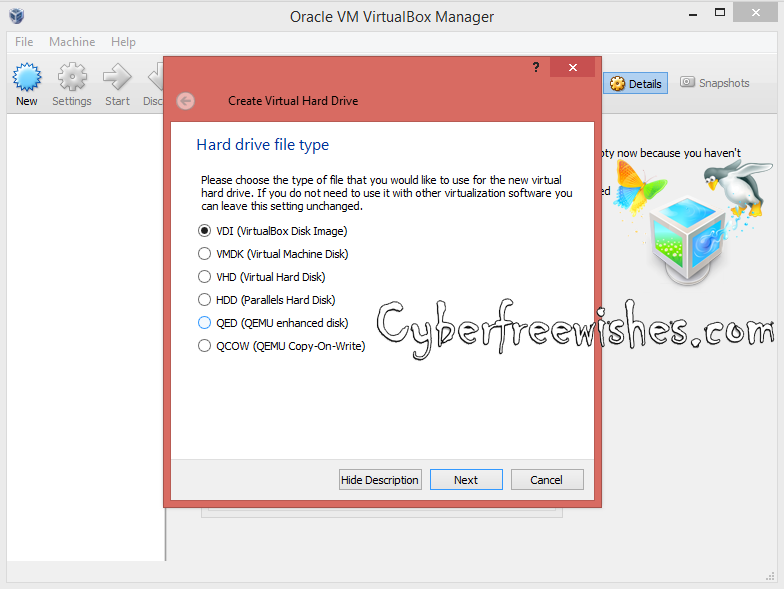
- Later Select the Hardware File Type as VDI (VirtualBox Disk Image). It is always recommended to go for VDI in terms of ISO image.
|
|
|
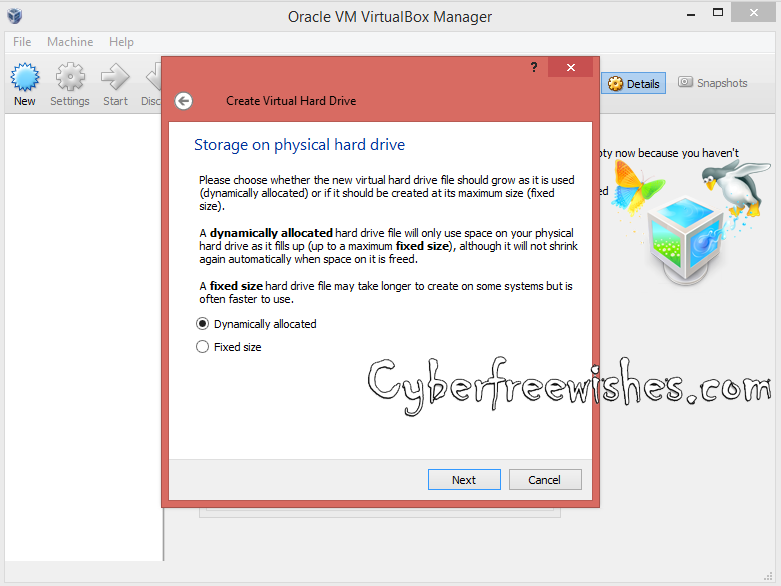
- Now Selected the physical hard drive as Dynamically allocated.
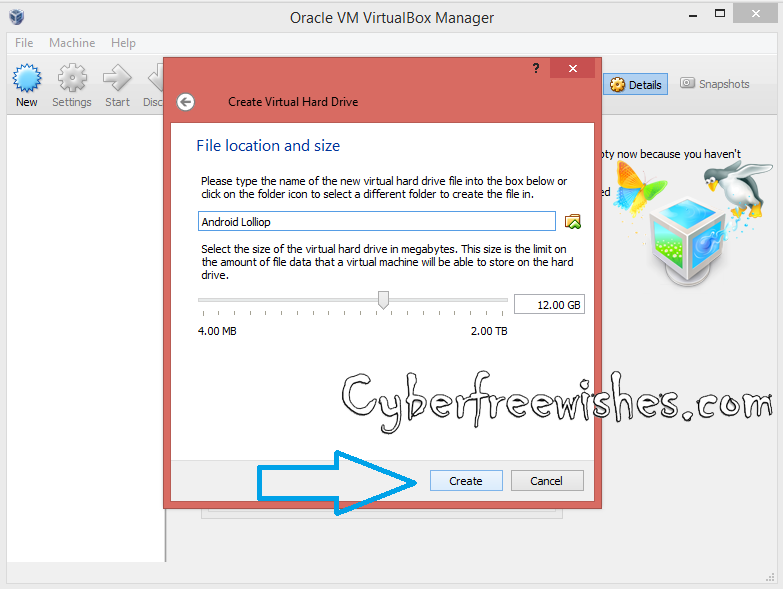
- Now, allocate the Android file location and size from physical hard drive.
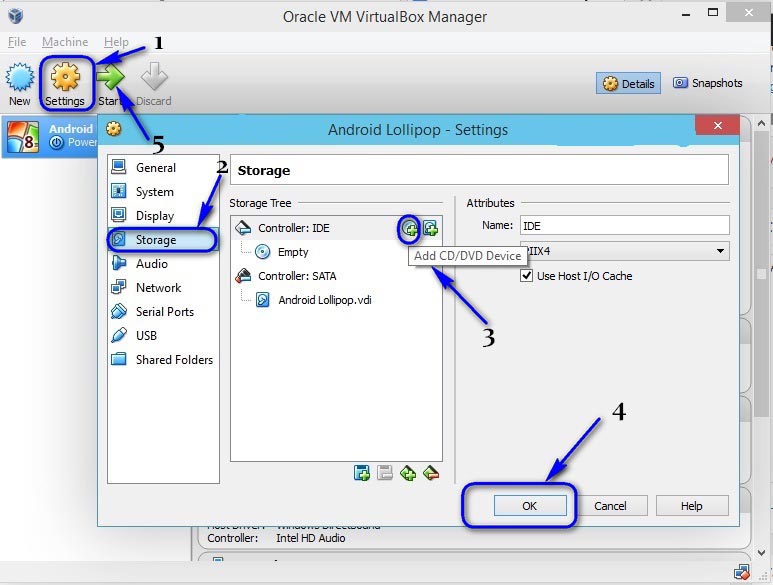
- Your VM is now created. Just we need too mount the iso file downloaded before. To do that go to settings options choose storage and load the iso file as shown in the below image and click start.
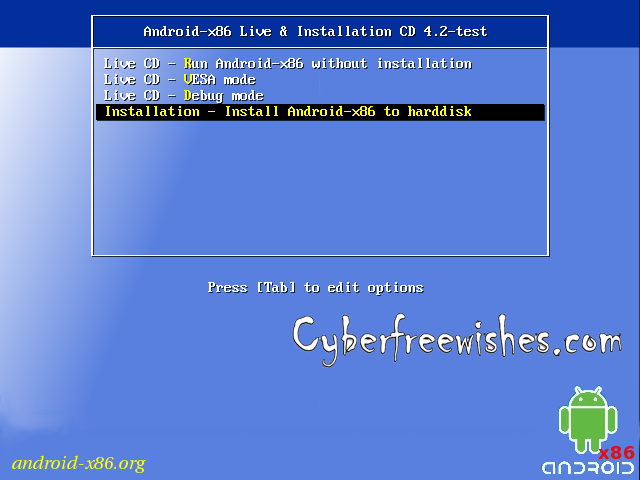
- Now Select the installation option as Install Android X-86
- Then select Create new partition.
- Then select New.
- Choose as ‘Primary’ in next screen and press Enter so that the full memory that is configured earlier will be automatically allocated.
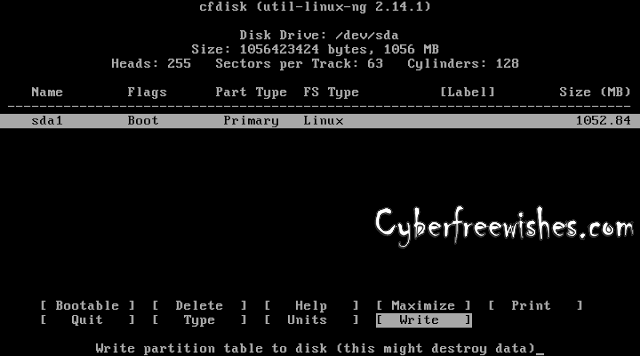
- The next step to do is select ‘Bootable’.
- Then select Write and click enter.
- Then type YES to continue the installation and this will write the os in the hard disk and after this quit from that window.
- Now choose sda1 Linux option and click OK.
- In the next window choose ext3 .
- In the format window confirmation page choose yes.
- Over next page it will asks for GRUB loader and this is optional. After this Android will be installed.
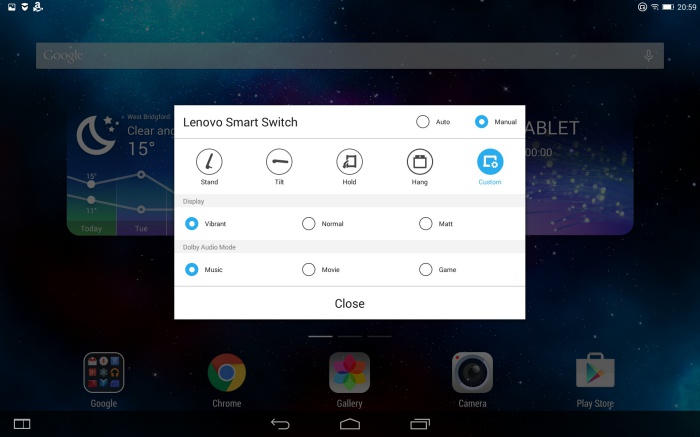
Screenshots

Author : Shoeb Ahmad Fareed

Designation: Founder & CEO
Bio: A Technology Leninist who believes that success can only be achieved if one has a practical implementation knowledge. He is a Computer Science Engineer, a professional blogger and a debugger.
Bio: A Technology Leninist who believes that success can only be achieved if one has a practical implementation knowledge. He is a Computer Science Engineer, a professional blogger and a debugger.