Have you ever thought, how computers are connected in a network for sharing files with each other on the supervision of a server? If yes, then you should also know that we don't always need server to connect computers in a network. Read on to know why?
The reason behind is that, earlier server was only solution to connect to computers, but with coming of new clients operating systems such as MS Windows 7 & Windows 8 we can easily connect to computers in a network with the help of connection work group called the HomeGroup. This HomeGroup allows you to use network computer connected on same computer with assigned priveleges. To know how to use homegroup for inter network connection see the steps below.
|
|
|
Steps To Connect To A Computer Connected On Same WIFI Or Local Area Network
- First of all connect both your pc's to same WiFi or local area network.
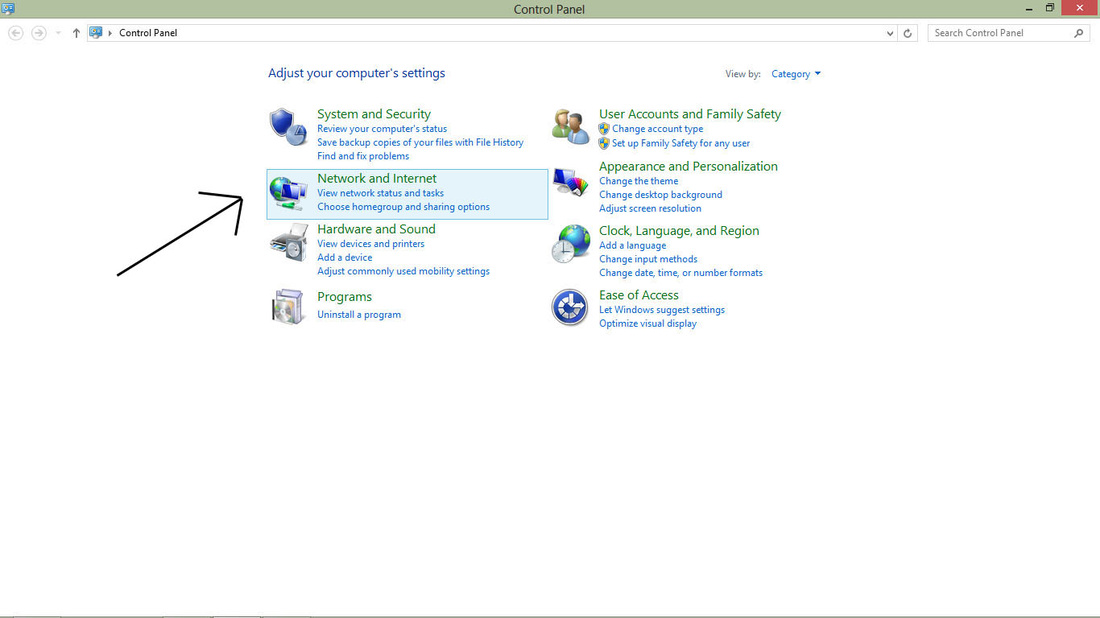
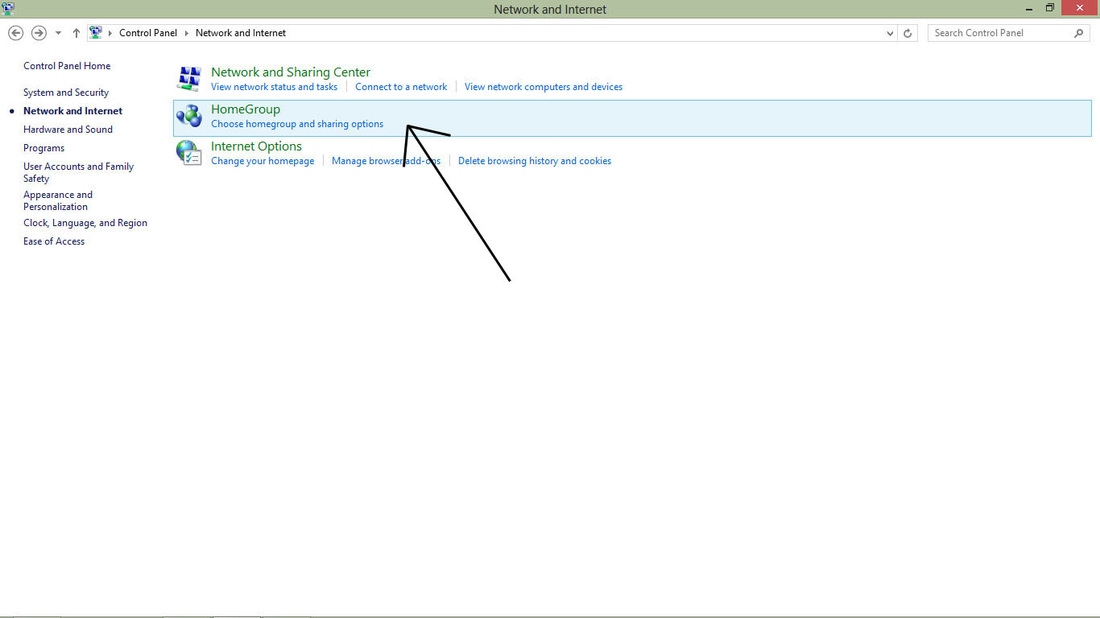
- Then in both pc's go to Control Panel -> Network & Internet -> HomeGroup.
|
|
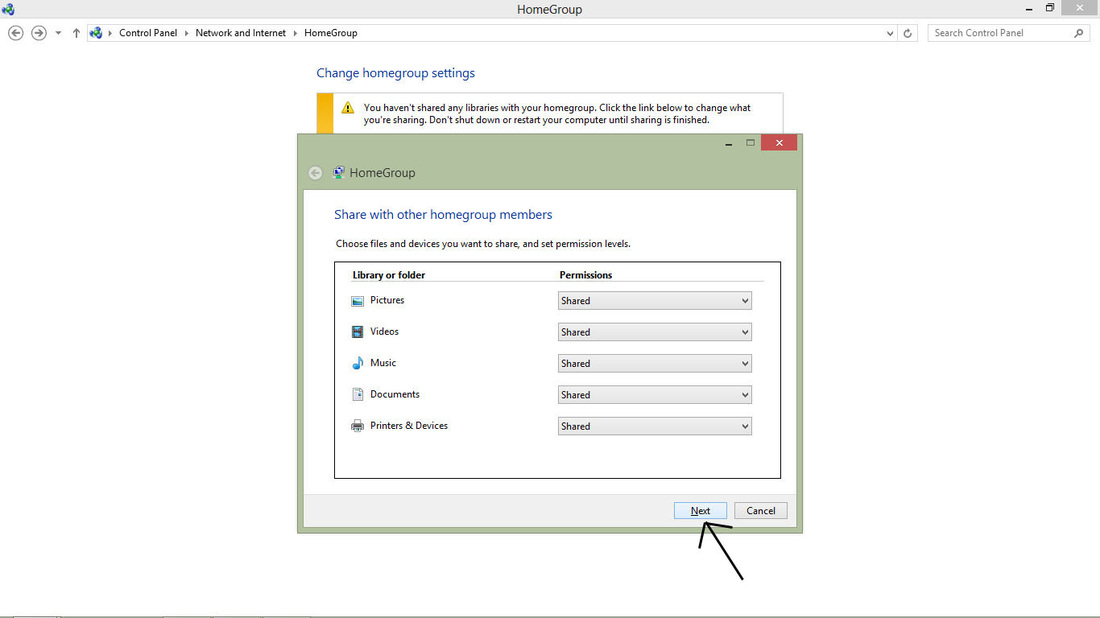
- Click on "Share with other homegroup members" and choose the files, library and devices you want to share with other pc and later click next.
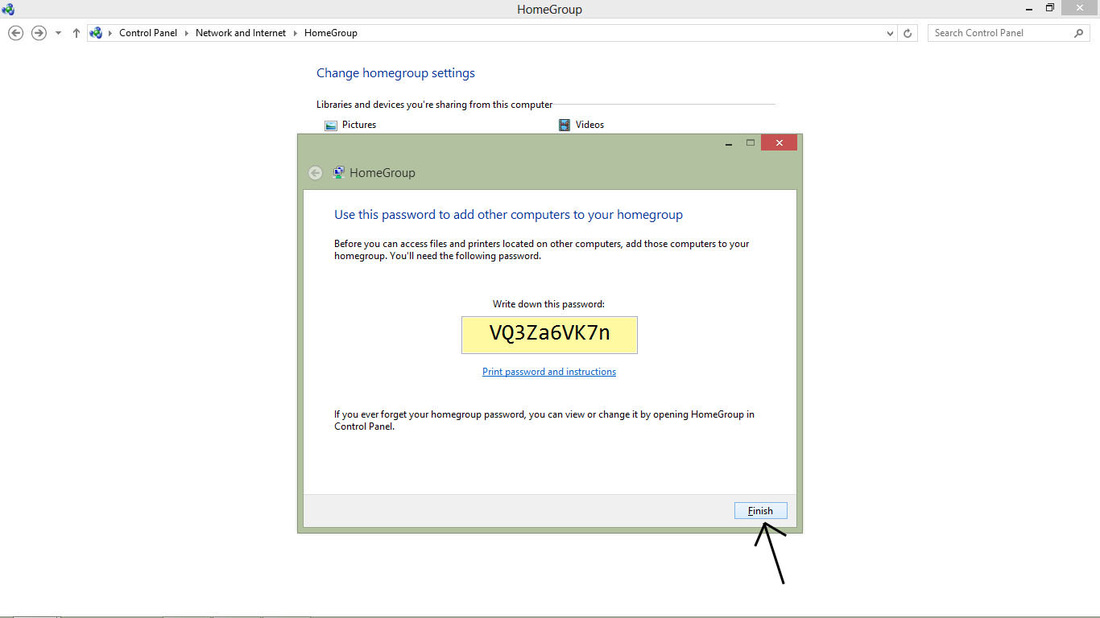
- Later an auto generated password is being created, copy that password to use it later on.
- Then go back to Control Panel -> Network & Internet -> View network computers and devices. There you will find the name of another computer awaiting to join in. Click join in and enter the password of another computer saved earlier.

- Once the authentication is validated, then you use files of your buddy computer connected in network.
- Please note that this Home Group network connection is only compatible with Windows 7, 8 and upcoming windows.
- For any queries please use the comment section to post your question.
Benefits Of HomeGroup Network
- HomeGroup network helps to send and receive files and folders with your shared network computer directly instead of using without using some cloud services likes GMail, Google Drive, Skydrive, dropbox, etc.
- It also helps to print a file using a network printer, i.e if printer is being shared in HomeGroup then you can easily use that printer for printing without manually connecting a printer to your computer.
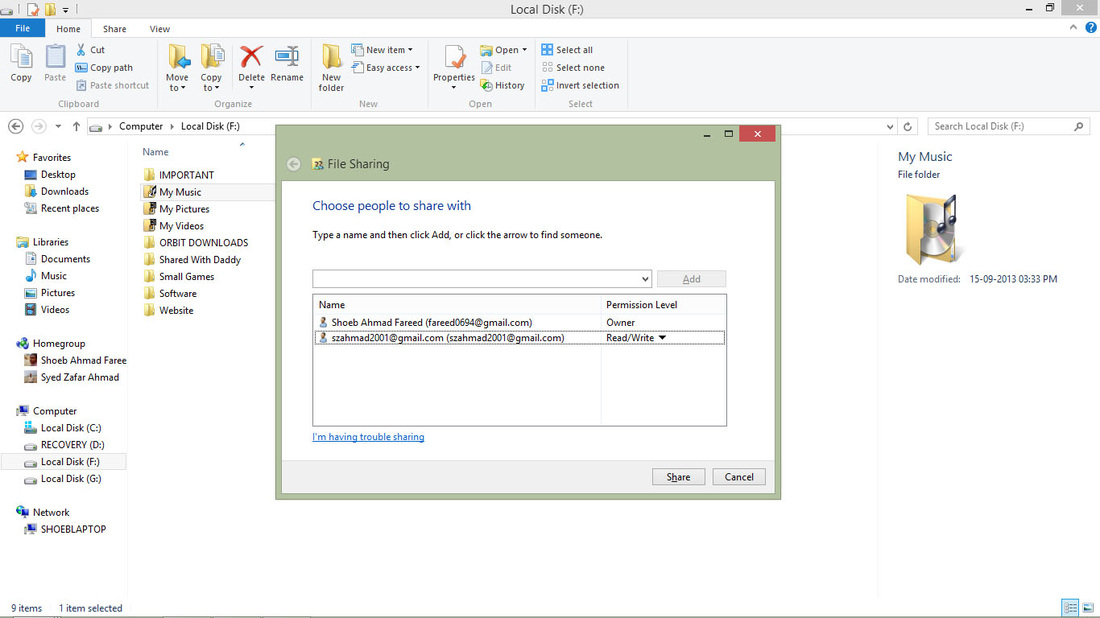
How To Share A File Or Folder In HomeGroup With Read/Write Permission
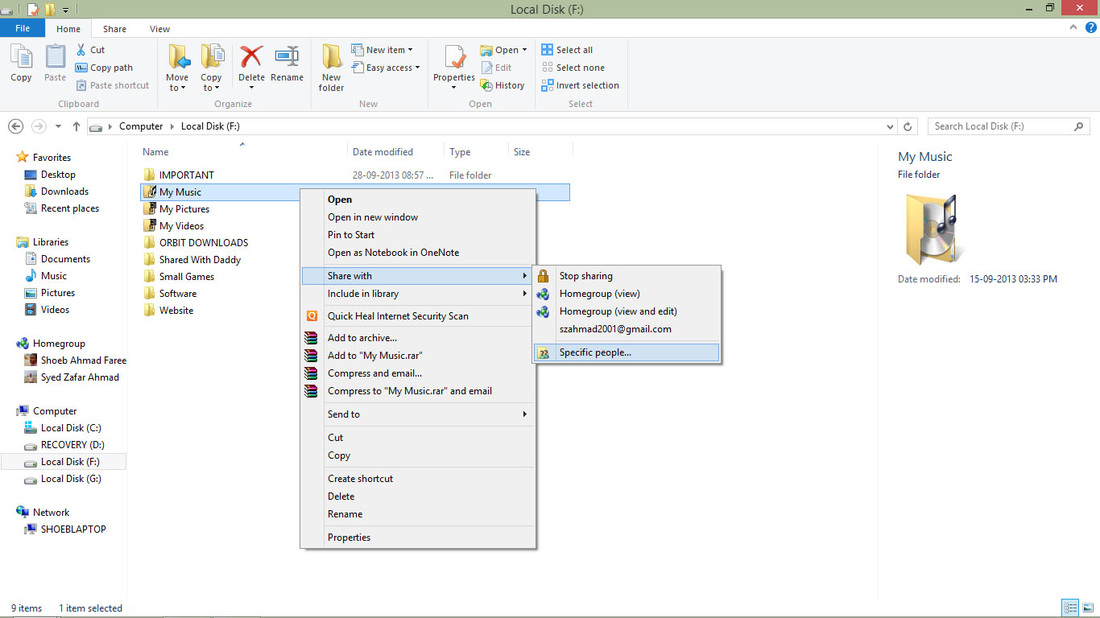
- First of locate and file or folder which you want to share with your network computer.
- Then Right Click on file or folder -> Share -> Specific People
- In Specific People Sharing, add the name of network computer by which you want to share this file.
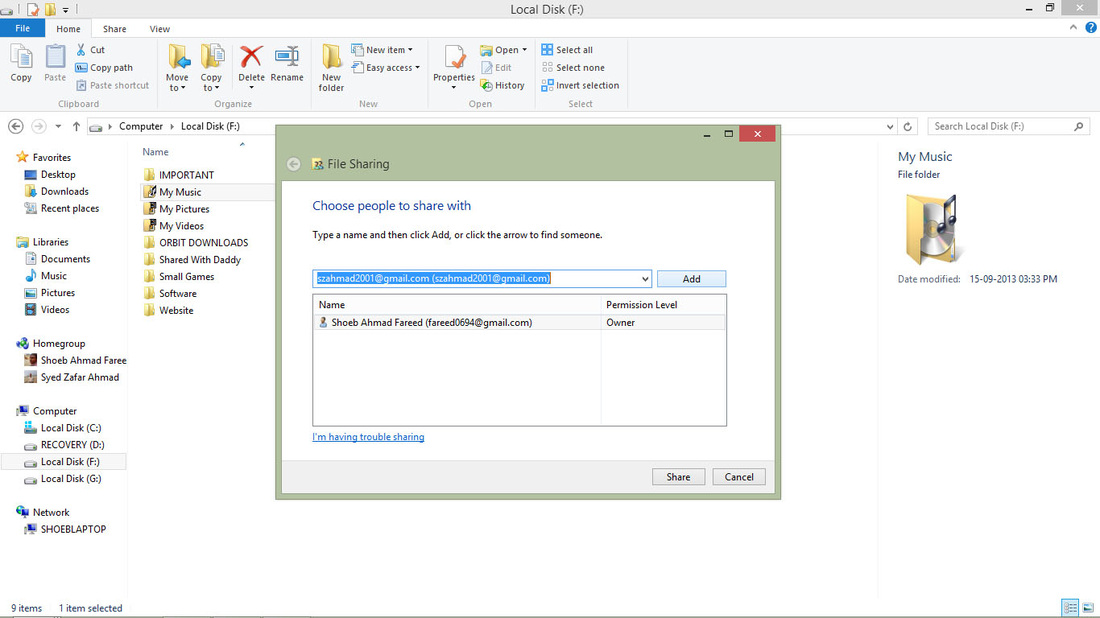
- One name is added, change the permission from only read to read/write so that the shared user would be able to edit the files.
Video Tutorial - Set Up A Home Group
Author : Shoeb Ahmad Fareed

Designation: Founder & CEO
Bio: A Technology Leninist who believe success can be only be achieved if one has a practical implementation knowledge. He is a Computer Science Engineer, a professional blogger and a debugger.
Bio: A Technology Leninist who believe success can be only be achieved if one has a practical implementation knowledge. He is a Computer Science Engineer, a professional blogger and a debugger.