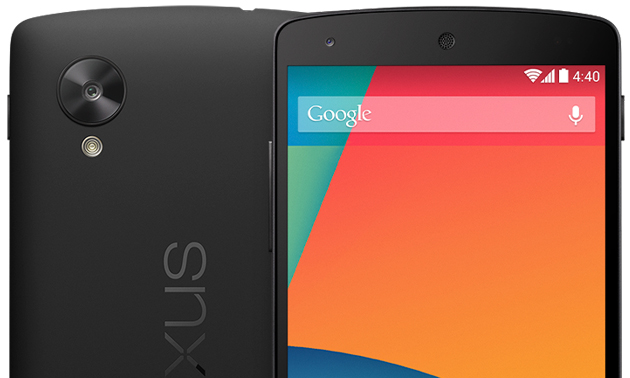
As we posted earlier about the rolling of Nexus 5 in India via Play Store and now that everybody has purchased it and made the inventory out of stock, Its time to root the device and enhance its internal features too. Rooting will only be done if your device is unlocked and contract free. Read on.
If your device is locked, you can even unlock it and then perform this root. Rooting on latest Android 4.4 was difficult but not impossible. In our procedure of we are not only guiding you to through rooting but also making you to flash ClockWorkMod recovery with stock recovery that will help you to take a nandroid backup of your device as well. Let's begin.!!
|
|
|
Procedure To Root & Install ClockWorkMod Recovery In Nexus 5
Pre-requisites
Steps to Root & Install CWM recovery on Google Nexus 5
The Nexus 5 should now be rooted successfully on Android 4.4 KitKat with CWM recovery installed. Open the app drawer of the phone and look for SuperSU app. Also, to verify the root status, download Root Checker app from Google play Store.
- Install USB Driver for Nexus 5 to transfer files between the Android device and the computer.
- Enable USB Debugging Mode on the phone to connect the Android device with computer and use the Android SDK with it. Press Menu>> Settings>>Applications. From there navigate and click on Development option and check USB Debugging Mode.
- As the tutorial might wipe out all data of the phone, create a backup. If the device is having any custom recoveries such as CWM/TWRP already installed, then back up data using the recovery.
- The Nexus 5 should have above 80% of battery charge. Due to low battery if the phone goes off suddenly while installing a custom ROM, flashing an official firmware or installing mode, the device might get bricked or go dead permanently.
- The bootloader of the phone should be unlocked. Click here for our step-by-step guide to unlock the bootloader of Nexus 5.
- The Nexus 5 should be running on Android 4.4 KitKat (KRT16M).
- The root and CWM recovery files work only on Nexus 5. Applying these to any incorrect variant is likely to brick the device.
Steps to Root & Install CWM recovery on Google Nexus 5
-
Step-1: Download Android SDK from Android Developers site and install it. Set it up with downloading platform-tools and USB drivers package in SDK (Click here for a guide)
-
Step-2: Download Fastboot and extract it in android-sdk-windowsplatform-tools directory
- Step-3: Download SuperSU v1.65 for Nexus 5 on the computer
- File name: UPDATE-SuperSU-v1.65.zip
- Step-4: Connect the Nexus 5 to the computer using USB cable. Then copy theUPDATE-SuperSU-v1.65.zip file to the SD card of the phone. Ensure that the file is in the SD card root, not in any folder
-
Step-5: Download CWM 6.0.4.4 and save it in the android-sdk-windowsplatform-tools directory on the computer
- Step-6: Turn off the phone and enter into Fastboot/Bootloader Mode. Press and hold Volume Down and Power buttons together for a few seconds until some texts appears on the screen. This is Bootloader Mode
- Step-7: Navigate to android-sdk-windowsplatform-tools directory and open Command Prompt (Shift + Right Click to open Command Prompt)
- Step-8: Type the following command and press Enter fastboot flash recovery hammerhead-cwm-6.0.4.4-unofficial.img
- Step-9: Choose RECOVERY from the Fastboot menu and enter Recovery Mode
- Step-10: In CWM recovery, scroll down to flash zip from sdcard and press the Power button to select it. Then select choose zip from sdcard by pressing the Power button. Now navigate to the UPDATE-SuperSU-v1.65.zipfile and select it using the Power button. Confirm installation on the next screen. The installation procedure should now start
- Step-11: When the installation is completed, go to '+++++Go Back' and reboot the phone by selecting reboot system now from Recovery menu. The phone will boot now and it would take about five minutes to boot up for the first time
The Nexus 5 should now be rooted successfully on Android 4.4 KitKat with CWM recovery installed. Open the app drawer of the phone and look for SuperSU app. Also, to verify the root status, download Root Checker app from Google play Store.
Author : Shoeb Ahmad Fareed

Designation: Founder & CEO
Bio: A Technology Leninist who believe success can be only be achieved if one has a practical implementation knowledge. He is a Computer Science Engineer, a professional blogger and a debugger.
Bio: A Technology Leninist who believe success can be only be achieved if one has a practical implementation knowledge. He is a Computer Science Engineer, a professional blogger and a debugger.